Ultimaker modding
Long time no blog post, so I figured, I might as well write a blog post about something super boring: Modding my 3D Printer!
For quite a while now I’ve been running OctoPrint on a Raspberry Pi as my print server, as it’s much more convenient than shoving G-Code onto the SD card and then printing from there. However, this has one downside: I had to have the Pi close by the printer since they communicate via USB with each other.
Then, I found a mount on thingiverse that allows mounting the Raspberry Pi under the Ultimaker itself, and also optionally a relay that allows turning the printer on and off via OctoPrint. At first I started out without the relay, so I could at least have a nice spot for the Pi itself (which had been shoved rather awkwardly next to the printer so far). However, I ended up getting a relay shortly after and after modifying the mount a little bit to fit my relay I could turn my printer on and off remotely! What a time to be alive.
However, one tiny little issue remained, the Pi was powered via a USB cable which ran next to the power cable of the printer, and which was quite a bit shorter as well. This ultimately had the result of me ripping out the micro USB connector out of the Pi after pulling a bit too hard on the cable. However, the printer already has power coming to it, surely there is enough to power a Pi? The Ultimaker 2 was originally designed to power two extruders and two hot ends instead of just one, so they must have left at least some buffer there. And as it turns out, that is indeed the case!
I modified the Pi mount some more in order to fit a voltage regulator that would convert the 24V input voltage that the printer uses into the 5V required by the Pi and now I have the printer and Pi running off the same cable! No more hassle with a stray USB cable getting in the way, and if I unplug the printer, OctoPrint turns of as well!
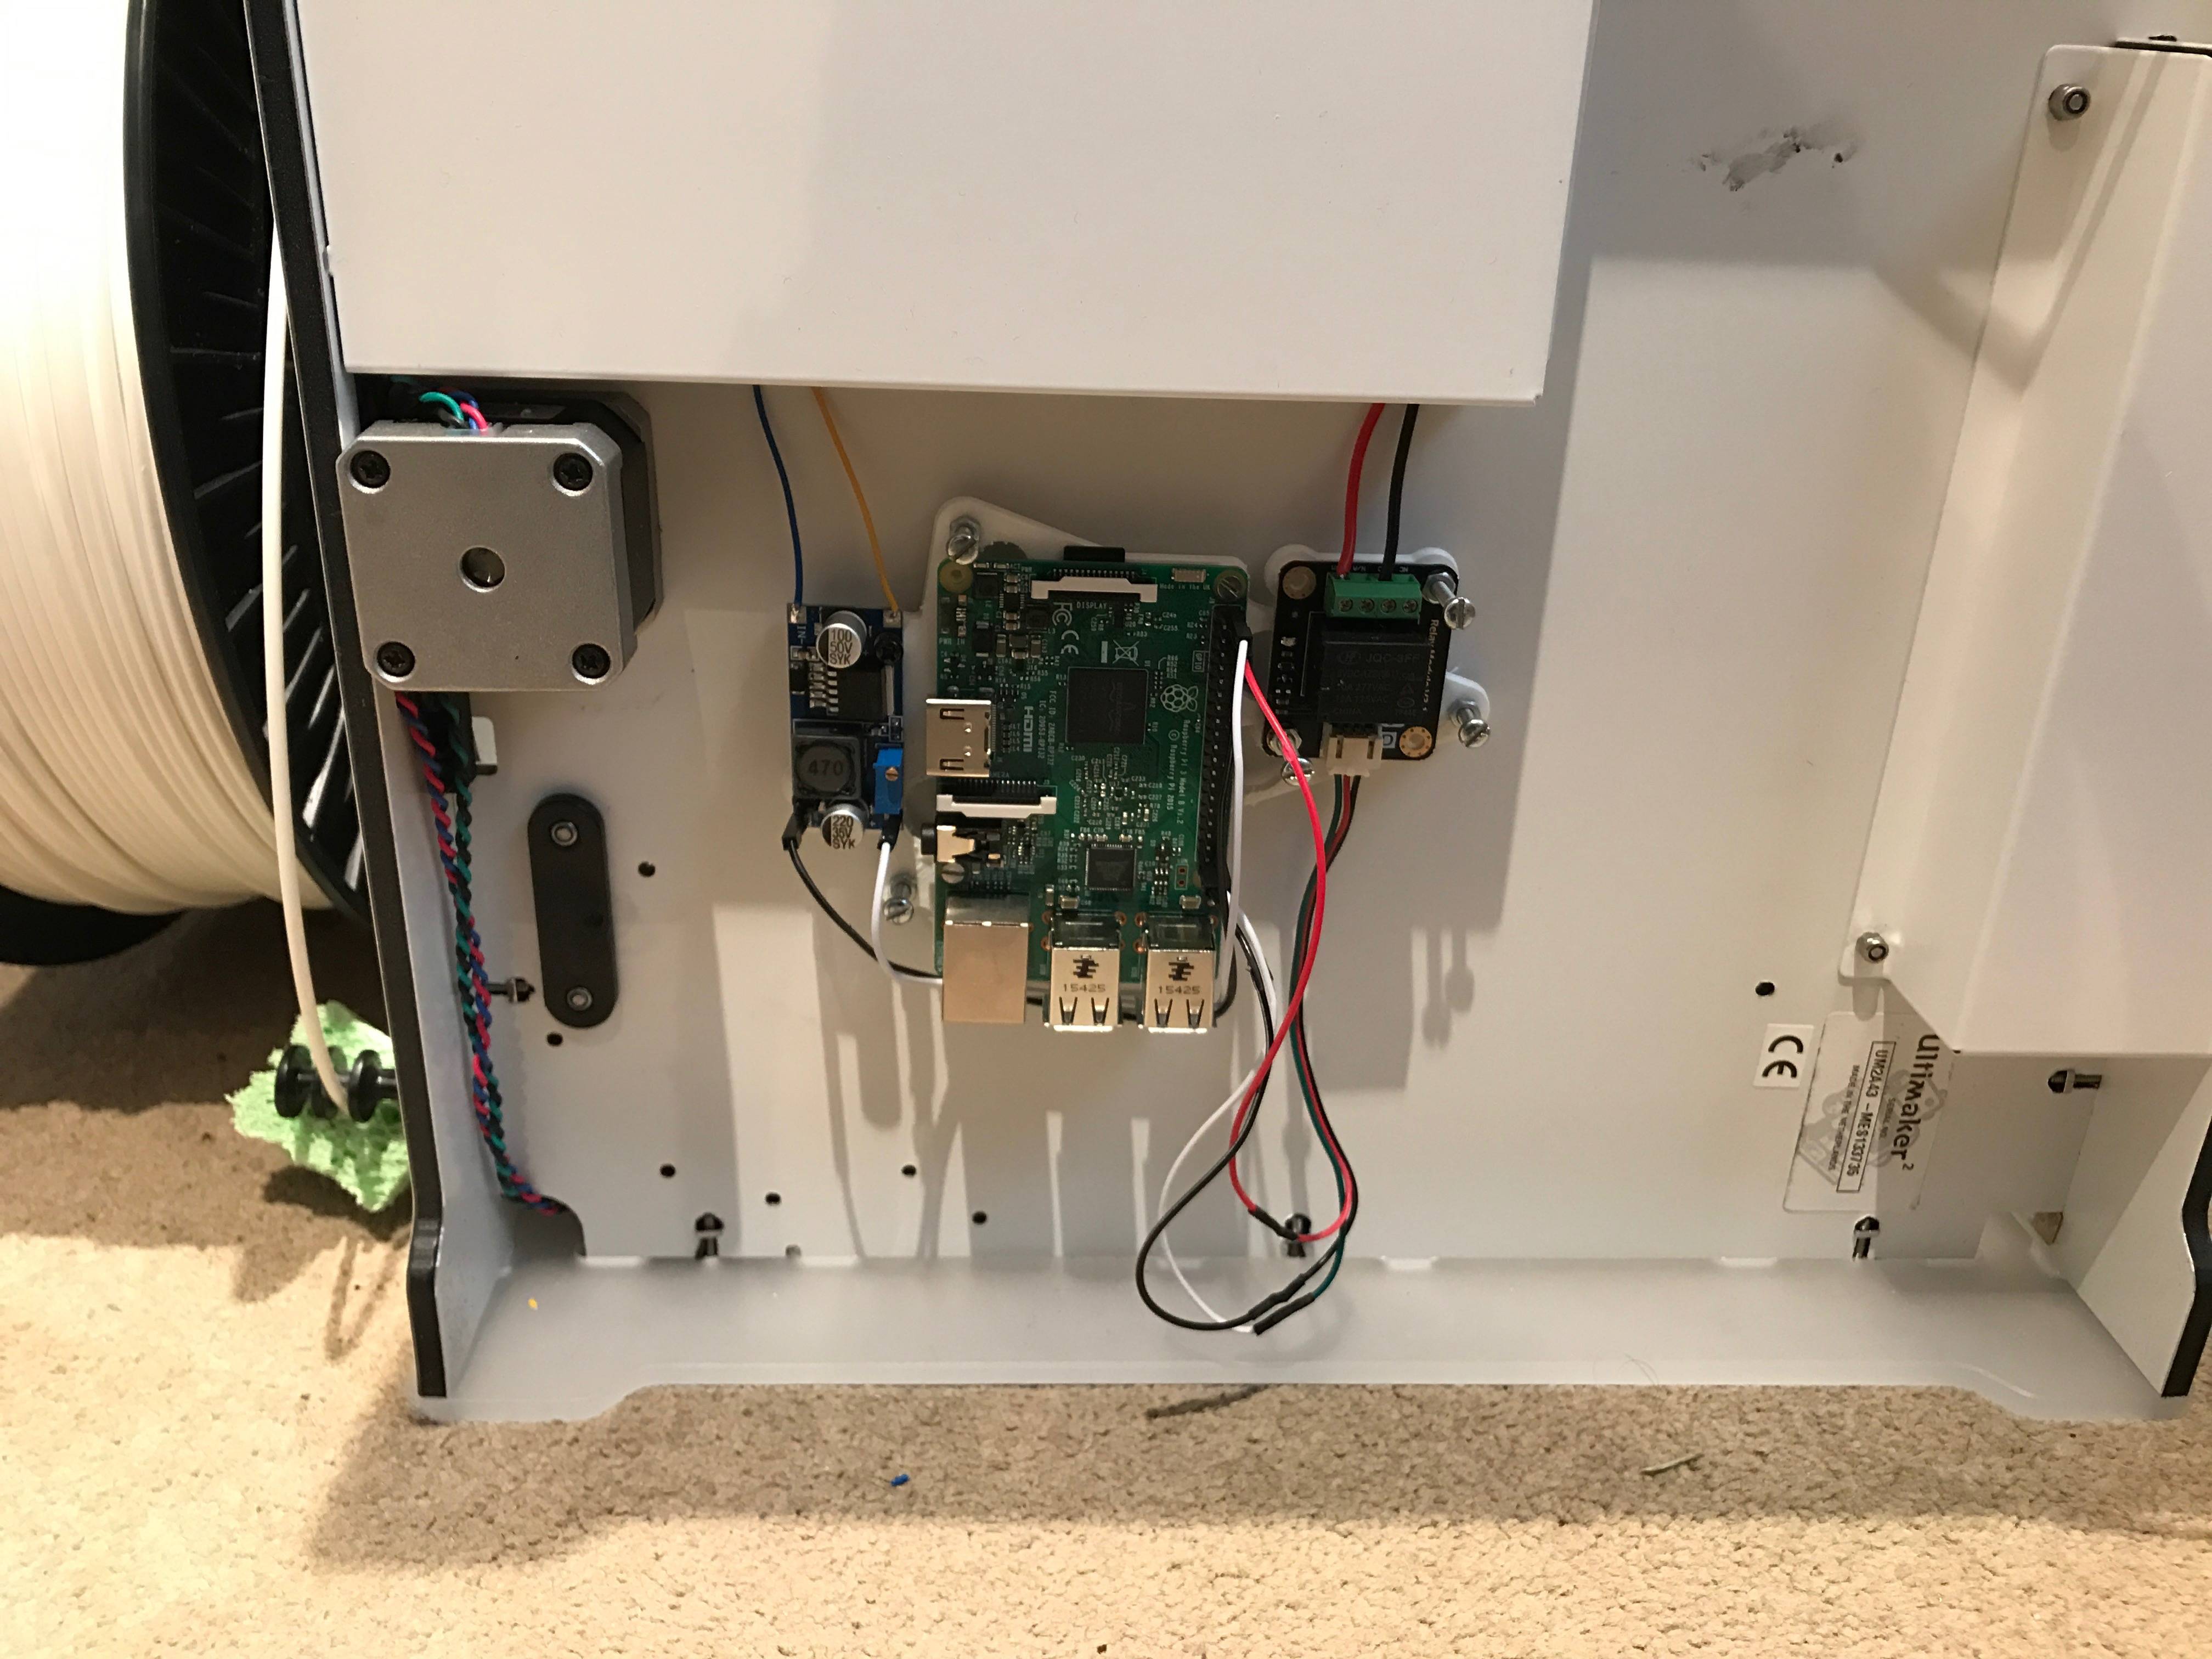
This the end result, it fits rather neatly under the Ultimaker.
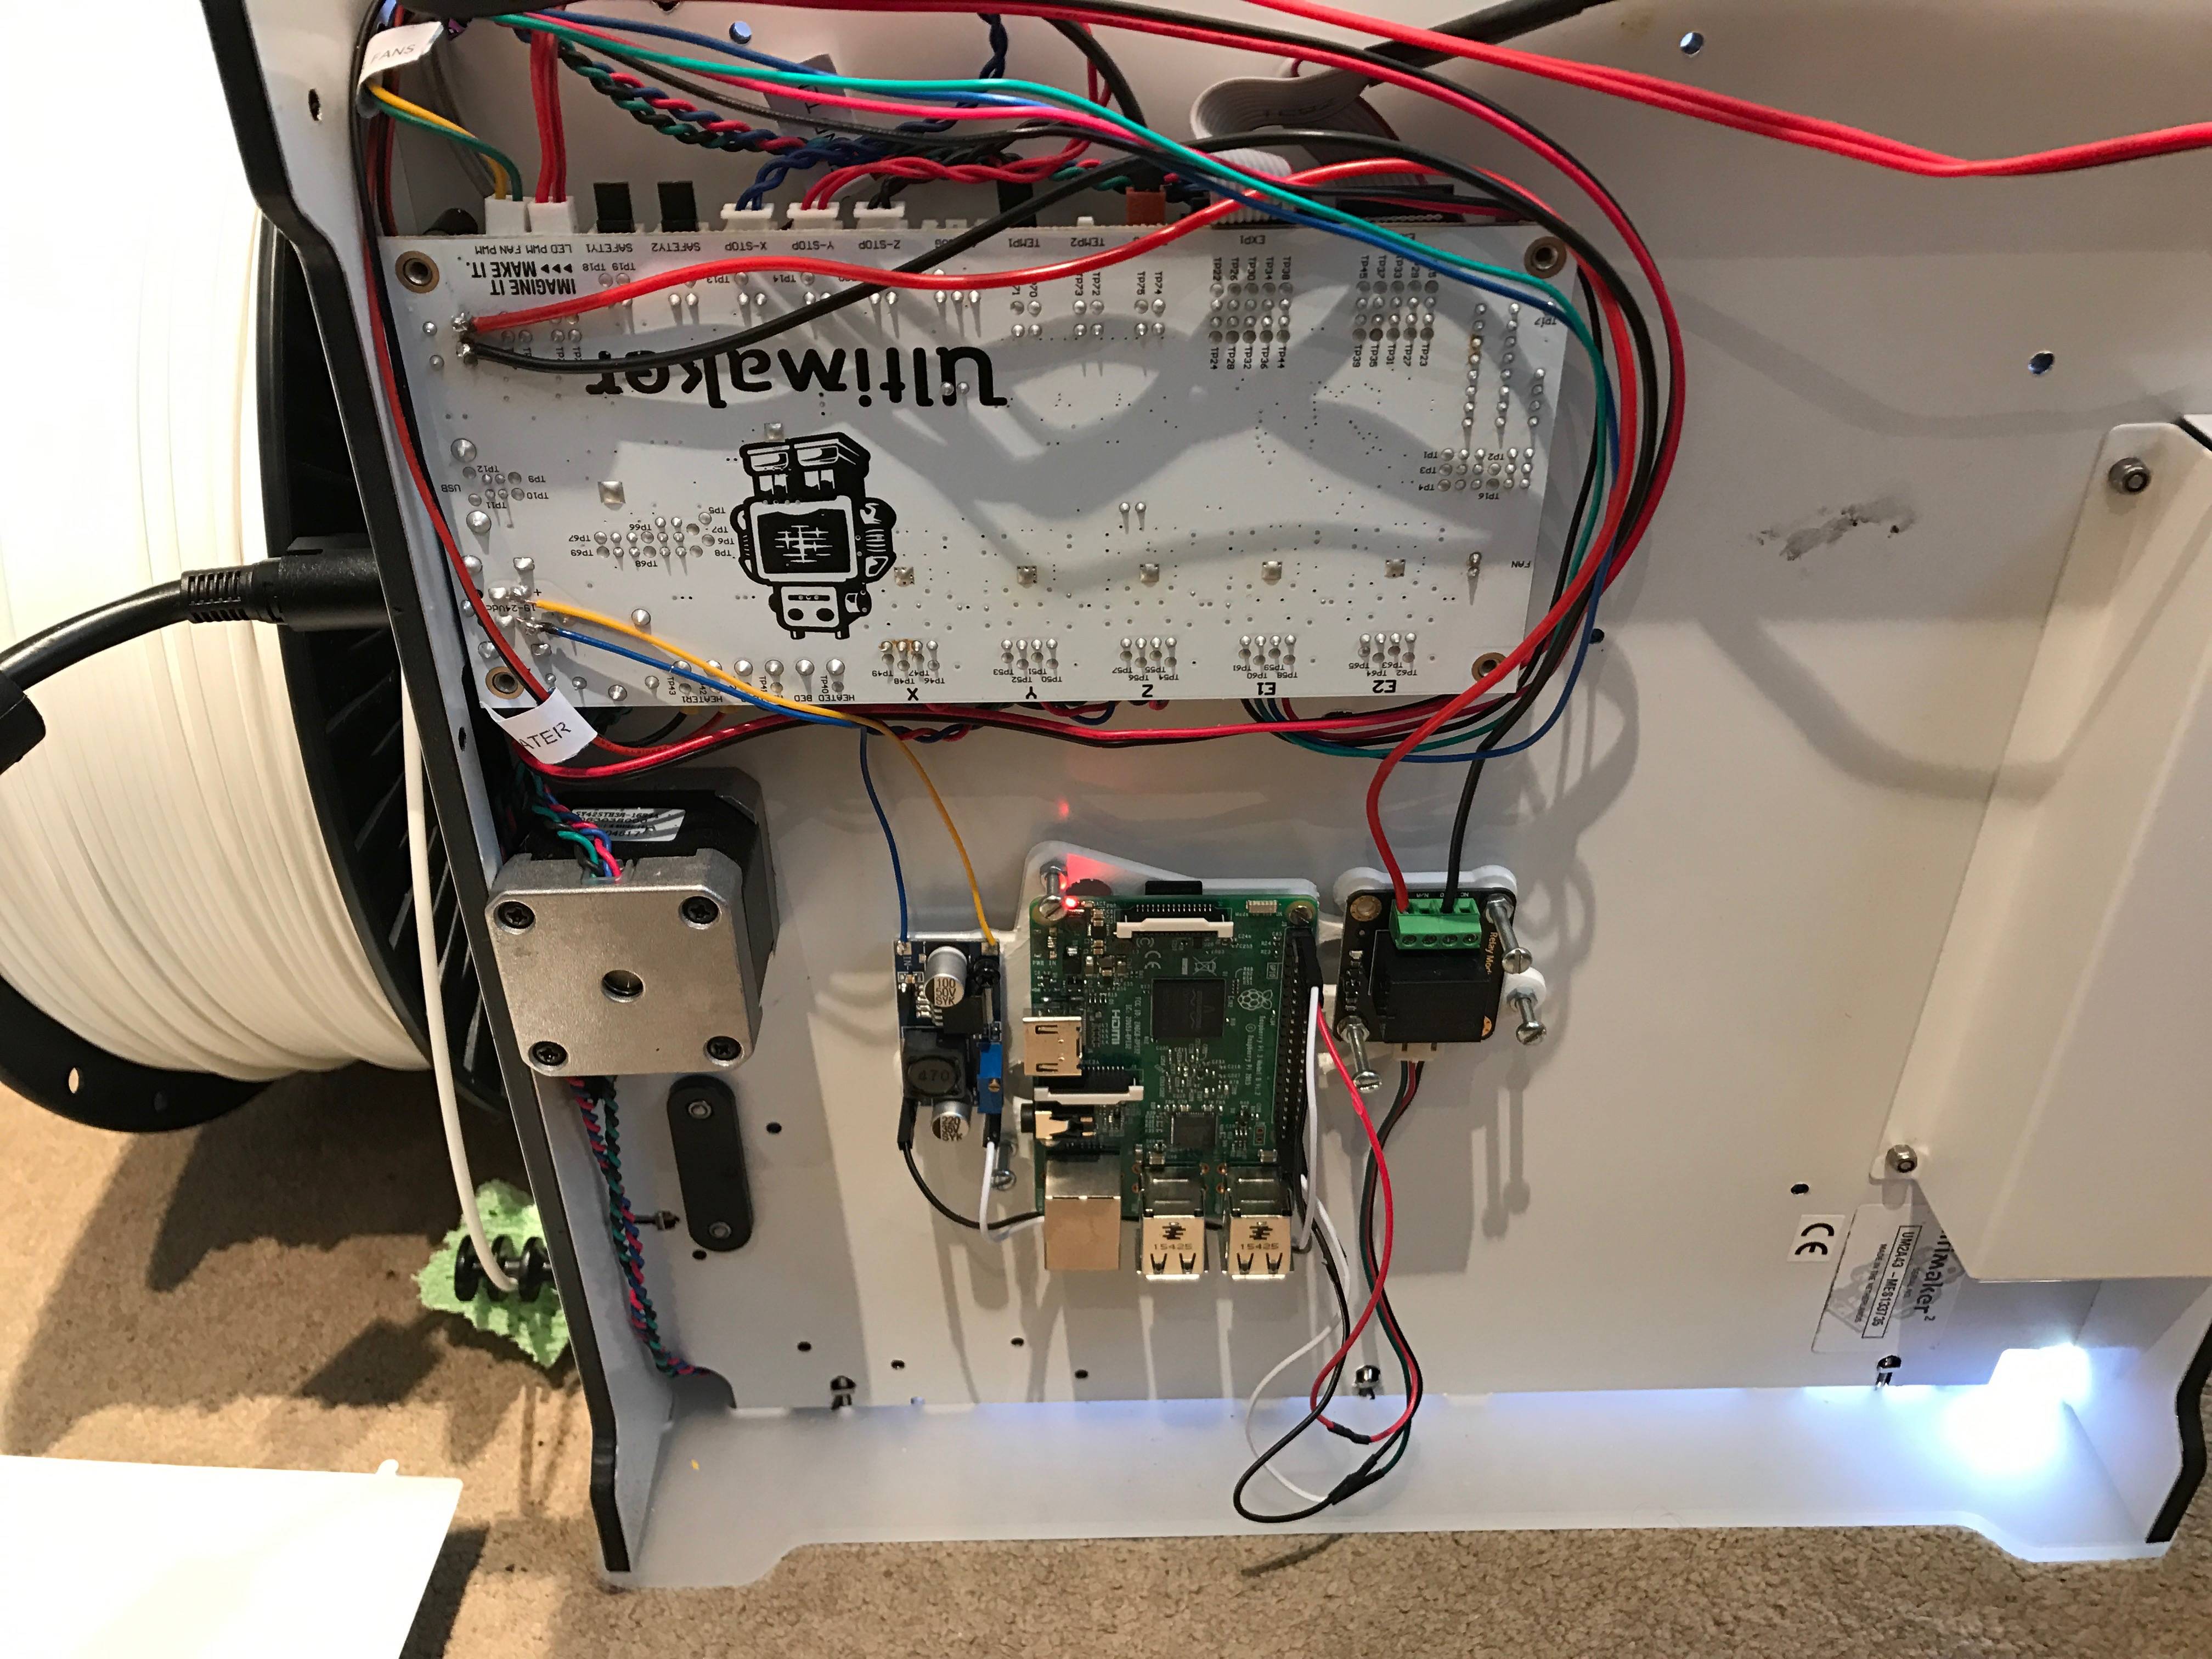
This is the logic board with the 4 extra cables soldered onto it. It’s a bit messy, but not really because of any cables that I added but because of the way Ultimaker runs their cables.