Sushi - A Gameboy game
This is a blogpost I’ve been meaning to write for a long time, it’s about a game Nils and I wrote back in January 2017 for the Inno Games game Jam. That game jam happened together with the global game jam and the topic was: Waves. The source code for the game can be found here
Nils and I both like challenges and even before going to the game jam we had decided to write a game for the original Gameboy (1989) and we decided to write it in assembler. This was inspired by the Ultimate Gameboy Talk at the 33c3 that happened in December of 2016, so we bought a Gameboy Advance and a Cartridge that is capable of reading SD cards. Both arrived about a week before the jam and we hacked together a quick prototype just to get a feeling for the architecture and the instruction set. I also ended up writing an IntelliJ IDEA plugin that supports Z80 assembler and integrated the RGDS toolchain (assembler and linker) as well as the emulator.
The original Gameboy
As you can imagine, the original Gameboy is by no means a powerhouse. It runs at an effective 1MhZ (even though the CPU runs at 4MhZ, most instructions take at least 4 clock cycles to complete). It has 8 8bit registers, although you can combine some of them to form a 16 bit register (3 general purpose ones). There is a flag register, so in reality you have 7 8bit registers. And of course, some instructions don’t work with every register. The instruction set is somewhat schizophrenic in that it can’t decide wether it wants to be 16 or 8 bit: Pushing and popping from the stack requires 16 bit registers, most ALU functions only work with 8 bit registers. Also, the display has a wide range of 4 colours (and by colours I mean shades of green) and it’s not bitmap backed but rather tile mapped. The Gameboy has VRAM for 32x32 tiles, but only 20x18 are visible at a time (with smooth scrolling possible via offset registers). Each tile is 8x8 pixels, and there can be 256 unique tiles. If you do the math, you’ll find out that the screen displays 360 tiles, so there is simply no way to not have at least some repeating tiles. Usually you’ll end up with some tiles being exclusively for things like fonts and text box outlines, so the actual scene tiles are even less than 256. One last thing is that the gameboy has space for 40 sprites, which can be either 8x8 or 8x16 pixels. These too come from the tilemap, but the nice thing about them is that they are easy to move and you can do so pixel by pixel.
Getting started
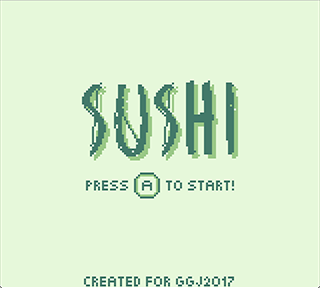
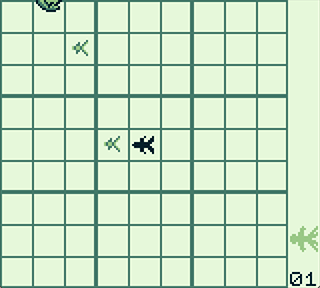
The hardest thing with every game jam project is to come up with a name. This time though, that turned out to be the easy part. While we were brainstorming ideas, we ordered Sushi and since the theme was Waves, we figured Sushi would be a superb name. More challenging was figuring out what kind of game we wanted to do. Joining us was a pixel artist and a game designer, and we spent a good two hours going over what we knew we could realize technically and what was still fun. In the end we ended up with the concept of a puzzle game: You are a fish in the ocean (which is represented by a 9x9 grid) and your objective is to eat smaller fish in order to grow so you can eat larger fish. The way you move is very indirect, the player launches waves from the sides that move all fishes with it, but the distance the fish travel is dependent on their size. The goal is for the player fish to end up on a smaller fish so it can be eaten. Here is a video of the whole thing in action:
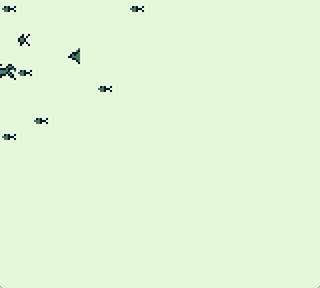
The first evening and night, we coded some basic routines to copy memory around, to DMA for the sprite transfer and write some general code in order to bootstrap everything like UI and interrupts. In the meantime our game designer started working on levels and the artist worked on the first bits of graphics. At the end of the first night we had this:
Putting things together
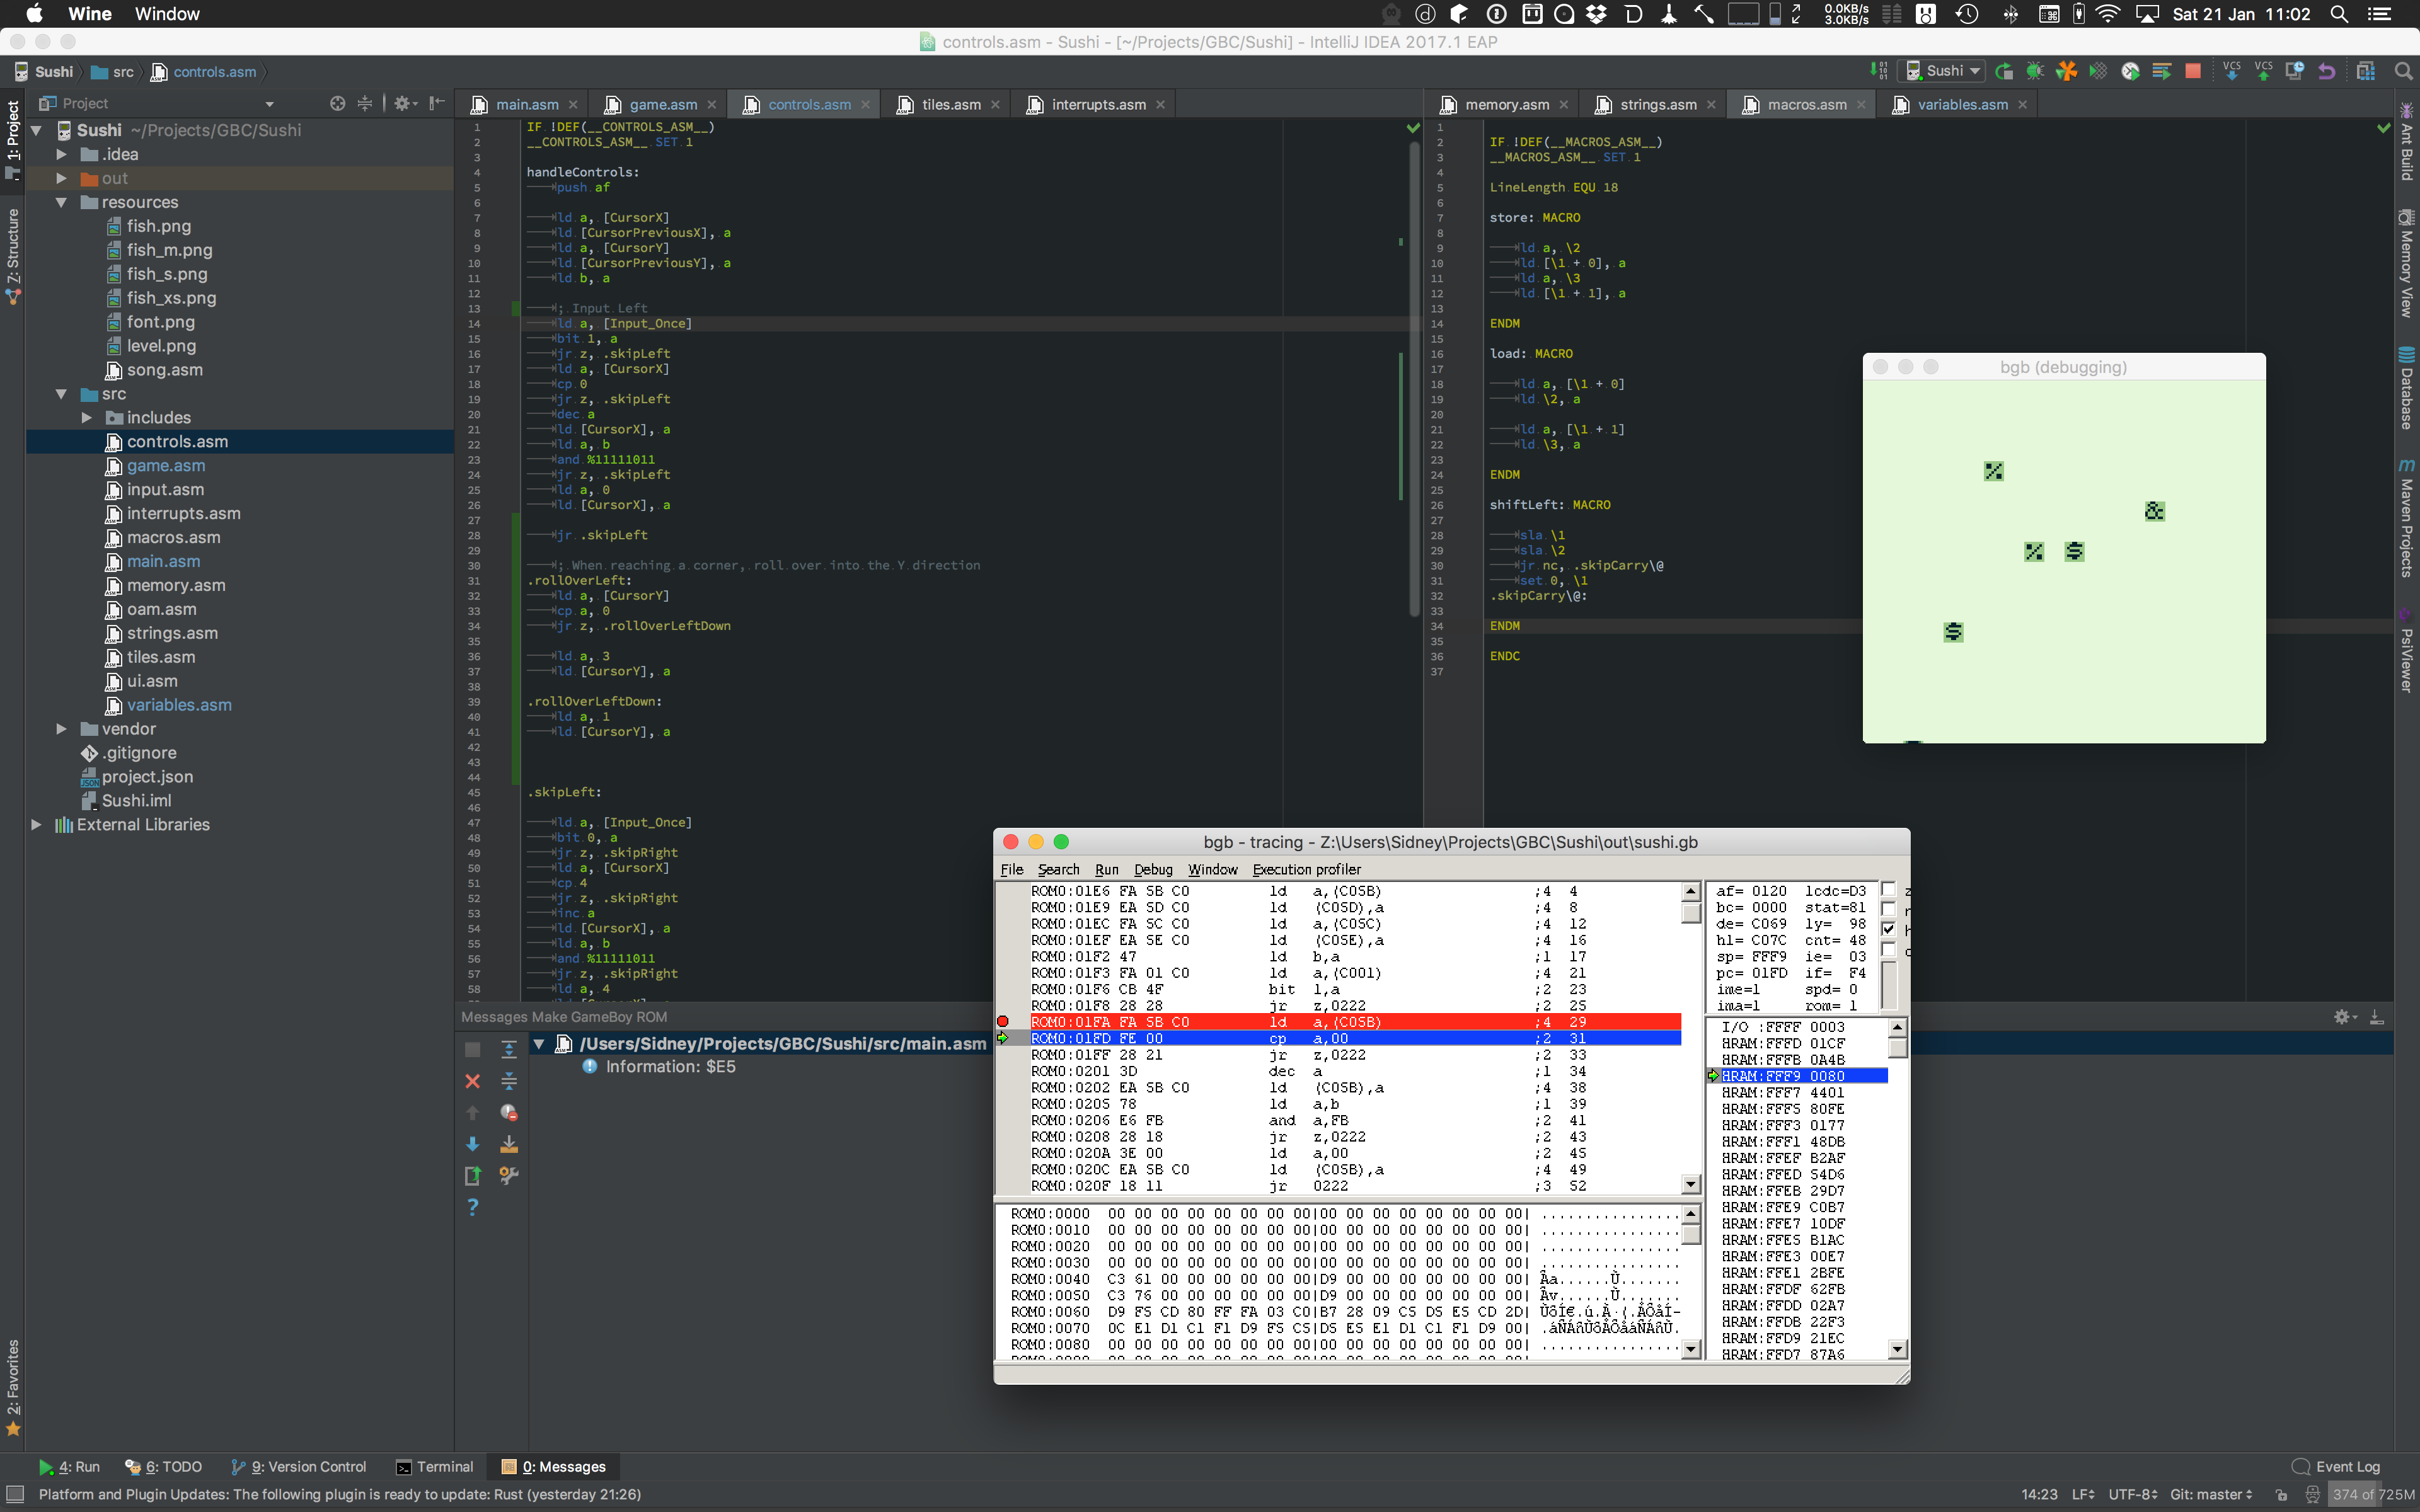
One of the greatest things about the Gameboy is that it’s so old. All flaws are documented and because it was so popular, people built great tooling for it. One such tool is BGB which is a fully featured, timing accurate, emulator. And not only that, it has a complete debugger and VRAM viewer built in as well which made debugging relatively straight forward. Here is a screenshot where I was debugging why our tileset was broken (in the background you can see our IntelliJ IDEA plugin):
The second day was mostly spent getting the input working and also having some sort of game board. The input turned out to be extremely messy and we ended up coding a function for each wave direction. Due to our memory layout of the level the up and down wave functions where the hardest to code as they involved a lot of 16bit math. The whole mess is a good 500 lines of undocumented Z80 assembler that can be found in waves.asm
The biggest problem was that we wanted an animation so the wave actually spread out from one side to the other. This required quite a bit of state and update functions. Of course, the other thing is that we computed the state of the final playing field once at the beginning of the wave and then had to keep the game over or game won screen from showing up while the animation was playing. Very trivial in C, a bit more complicated in assembler.
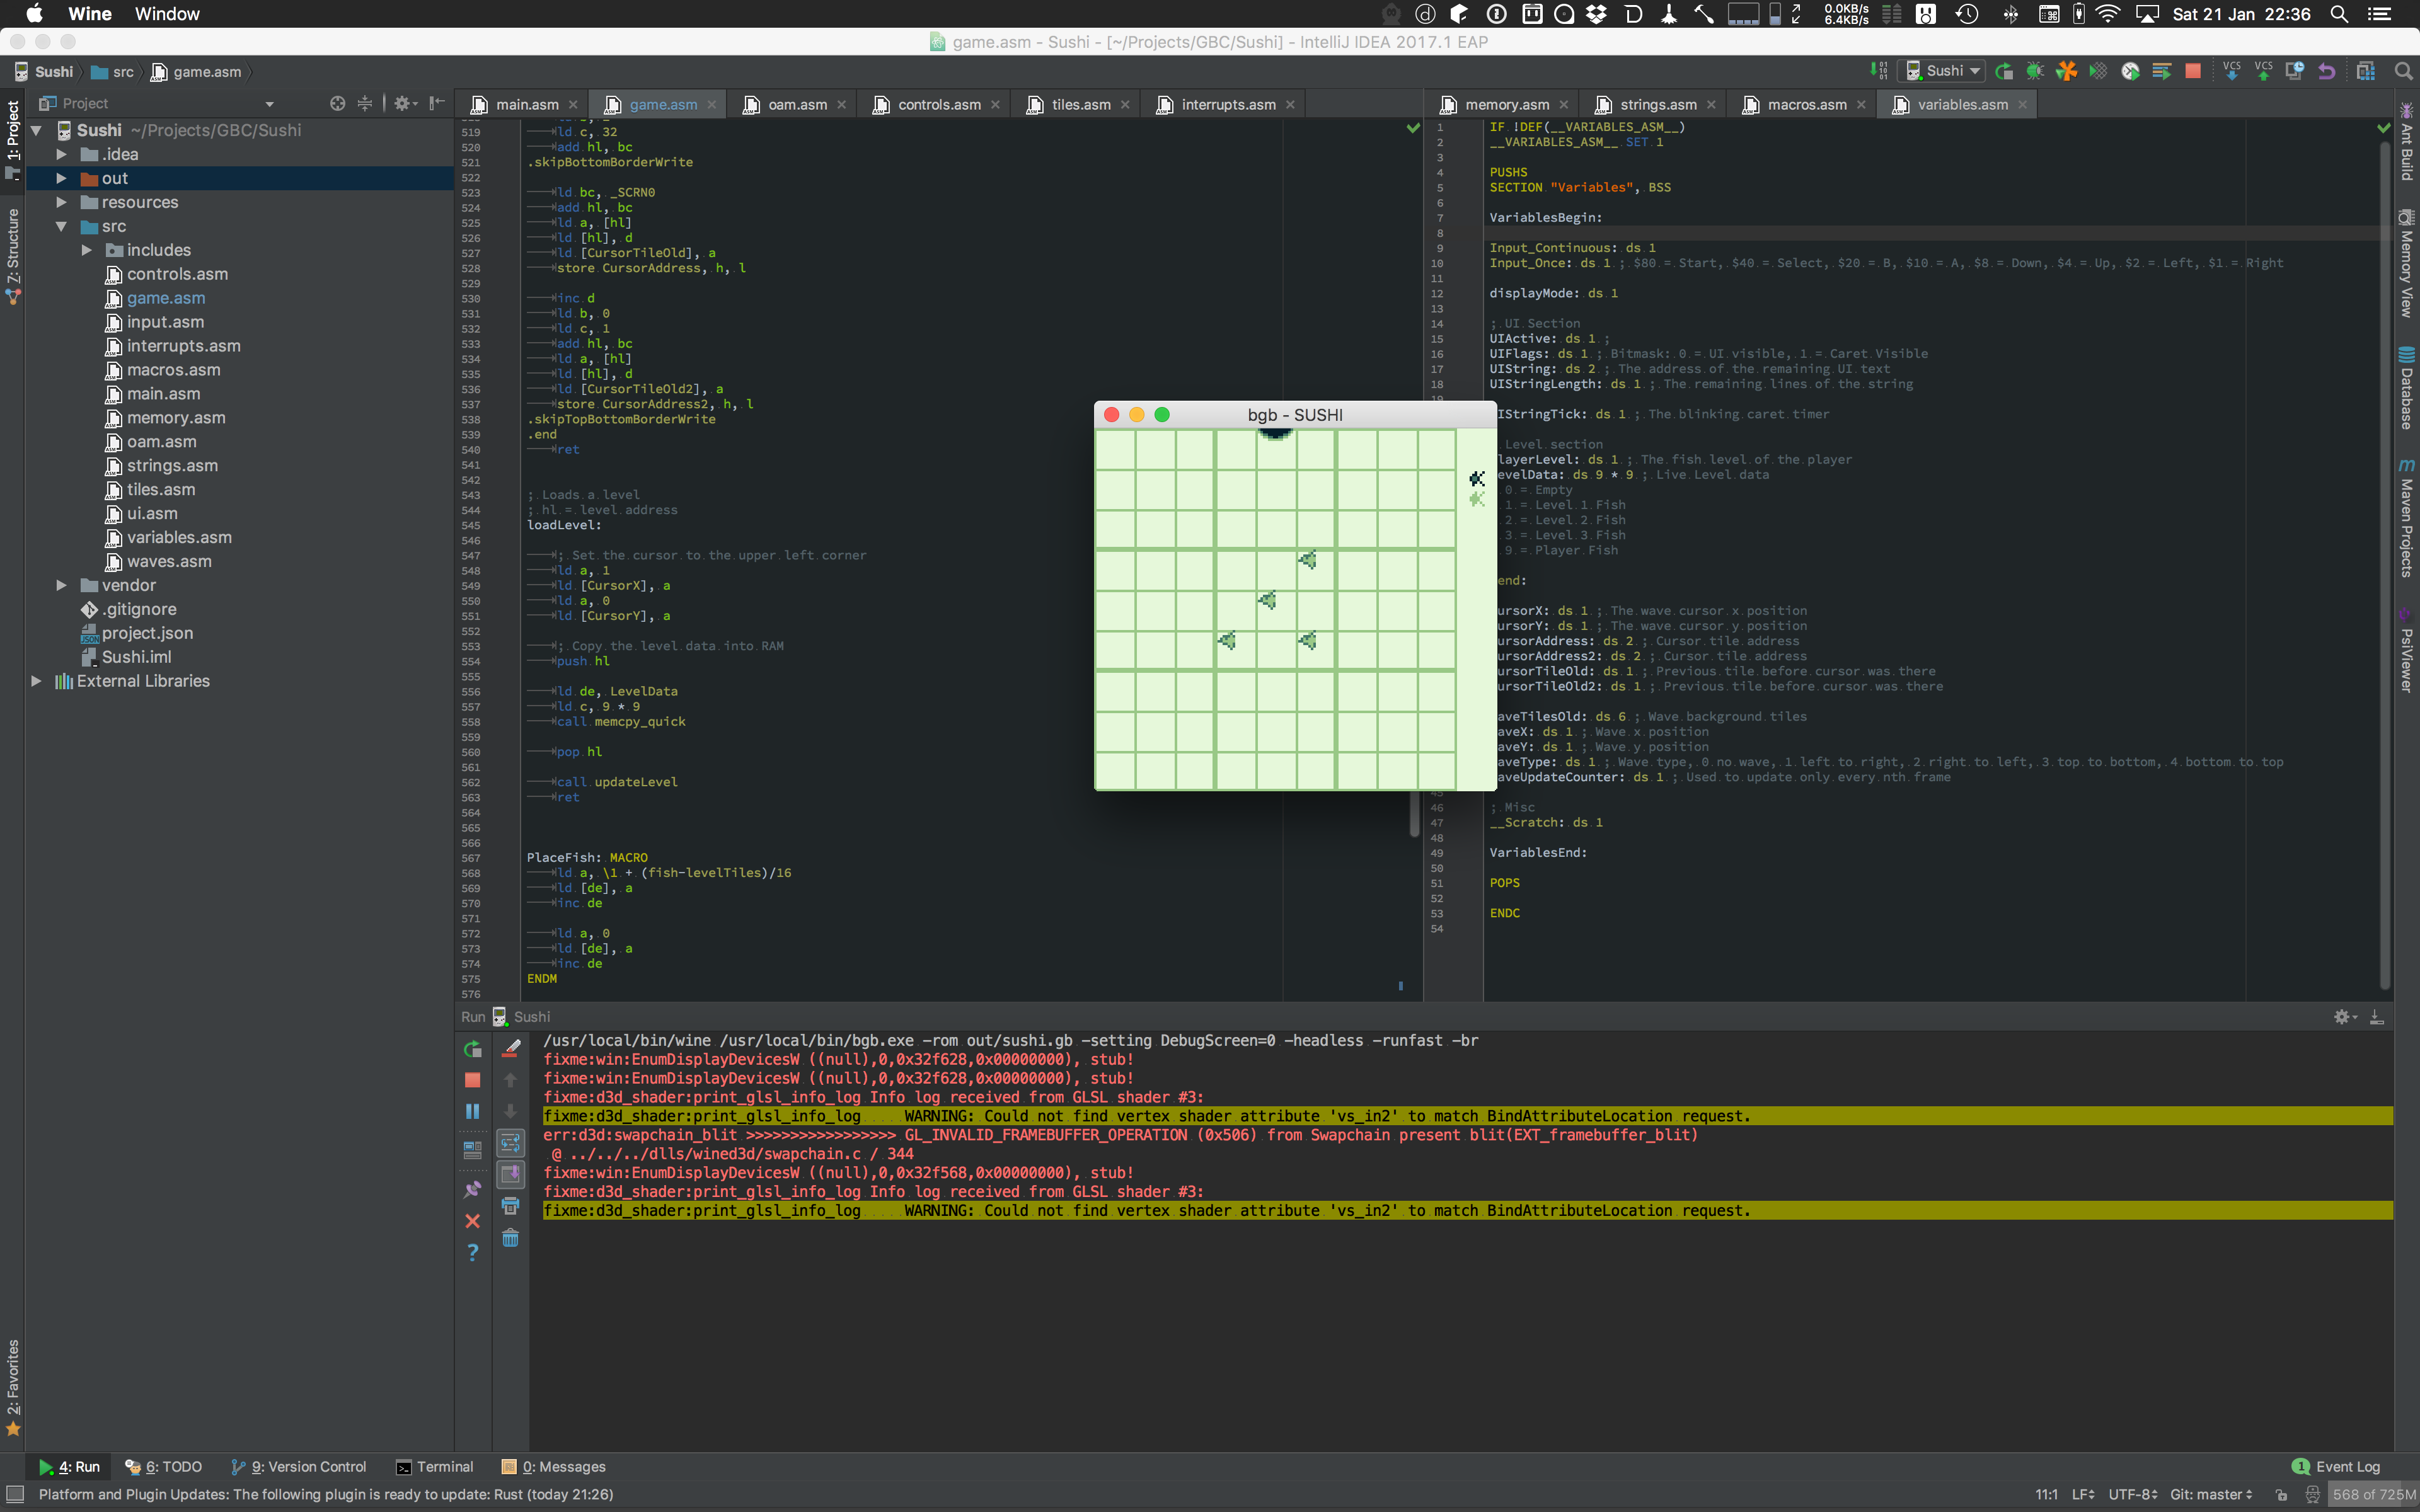
At the end of the day, we did have a working prototype though, with updated graphics! The other thing that was added was feeding logic, even though the player was excluded from that so far. Fish could eat other fish and grow. The reason the player was separate was that the player had to eat two fish in order to grow one level, whereas the other fish only had to eat a single fish.
Final touches
In the early morning hours of the third day we also had the logic for the player fish done and were left with the finishing touches: Main menu, multiple levels, status UI for the player and anything else. We found a great music artist who created music specifically for our game (not an easy feat, given that the Gameboy can only really generate noise and simple waves). Our game designer had created over 20 levels for us that became more and more complicated so we had to add a level change logic and add all of the levels. The level format was super simple, each tile was represented by 8bit. A 0 was an empty field, 1, 2 and 3 were non player fishes of different sizes and 4 was the player fish. All levels were consecutively in memory and so level changes were rather easy. The levels can be found in level.asm.
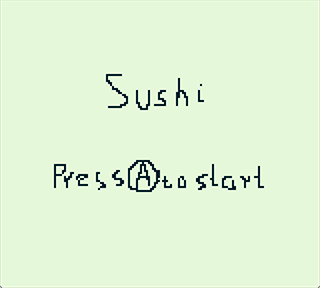
Our placeholder main menu was rather sparse while a pixel artist was working on a nice new one for us. He also made two tutorial screens for us that would be shown after the main menu:
While putting the tutorial screen together we ran out of memory space. The Gameboy has 16kb of ROM space that are mapped into the address space. The cartridge itself can have multiple megabytes of memory in multiple ROM banks, but you can only ever have one of those mapped into memory at once. Up until that point we had been fine with just bank 0 for everything (excluding the music which was in bank 1). Due to our time constraint of about 1 hour left, we simply decided to just drop one tutorial screen and have everything ever so barely fit into memory. There would have been lots of places for memory optimization, for example the level format, but it was a game jam and there just wasn’t time for it.
The other thing we added was a level counter and a progress bar to the next level and with that, we were done:
Final words
We didn’t end up anything. We were hoping we would be the coolest geeks there, but in the end, we lost against better looking Unity games. But it’s not about winning but about fun and it was definitely a great time. Next time we’ll have to up our game and create a game in hardware!
Anyone who is curious to try writing games for the Gameboy, do it in assembler! It’s a lot more fun than C and definitely manageable for smaller projects.